
Revelstoke Travel Photographer - Three Shoulder Season Scrambles in Canmore
Katee Pederson

If you’ve ever been to Canmore in the summertime, you know how busy the hiking trails can get! Fall and spring might not seem like the ideal time to visit the mountains with snow often covering the trails and not the ski slopes, but who says you can’t hike in snow?
You’ll need to take a few extra precautions, like being aware of avalanche risk if there has been a large early snowfall in the autumn or late melt in the spring. Check avalanche.ca to make sure there are no early or late season warnings, and don’t enter avalanche terrain if you have no training or safety equipment. If there is no avalanche risk, bring along a mountaineer's axe or hiking poles as well as crampons or micro spikes in case it gets slippery. Snow adds a new element to scrambles, but as long as you’re being your regular safety minded self, you’ll likely be able to stretch your season out to include May and October.
Like always, be prepared with a first aid kit, emergency communication device, a map with guide notes, extra clothing layers, and food and water. My notes below should only be taken as inspiration to start your research - be sure find additional accounts of the route before you set out.
Ha Ling Peak

It’s a popular one, I know! But it’s still such a beautiful hike that you shouldn’t rule it out just because everyone and their dog has done it. The crowds are far more manageable in shoulder seasons, especially if you’re up for sunrise like we were! Plus, if you’re still a little new to this it’s nice to know that you won’t be alone on the trail.
To get to the trailhead take Three Sister’s Drive out of town and head West on Spray Lakes Rd. Follow that for 7km, past the quarry and nordic centre. You’ll park on the right hand side of the road in the Goat Creek Parking Lot. Make use of the toilet facilities here before crossing the road and following the signs to the trail.
The provincial park recently did a total reconstruction to this trail to accommodate its heavy use. This includes plenty of signs, hand rails in tricky spots, and even a unique floating staircase. Honestly, it’s a work of art if you ask me! It’s close to 8km to the summit and back with an 800m elevation gain. As the trail is used throughout the day the path can get slippery, so I would highly suggest micro spikes! The scramble above the treeline is simple, but be cautious and watch your step. It was significantly colder out of the trees so be sure to bring gloves and extra layers for the scramble.

Once at the summit, enjoy the beautiful views of Canmore below and the other mountains surrounding you before you continue back the way you came. Remember that you’ll be slower moving when the trail is slippery, so give yourself about 4 hours from start to finish.
Mt. Yamnuska

Though another popular scramble, Mt. Yamnuska is a bit less touristy as you can’t see it from town and its intimidating face can deceive those without a guidebook. Its location so close to Calgary on the very edge of the rockies makes it a favourited spot during shoulder season, as it is often the first and last summit without snow cover. Even so, a little fluff doesn’t need to keep you away! It’s a more challenging scramble for beginners, with a chimney to climb up and a narrow ledge with chains to traverse, but you can always turn back at anytime if it gets too difficult or the conditions aren’t safe. When all goes as planned, however, the 10km loop is filled with everything you want out of a day in the mountains.

The trailhead is about a half hour drive from Canmore, along the Bow Valley Trail. The sign for the parking lot on the lefthand side of the road is about 10km past Exshaw. Park in the loop here and follow the signs to the trail. A few hundred metres in you’ll notice a T with signs for climbing and hiking. Be sure to turn right here, following the loop counter clockwise.

The fun starts as you approach the treeline. Take your time climbing the chimney and be sure to asses ice conditions on the ledge when you’re at the chains. Crampons or micro spikes could definitely come in handy at this point, as it’s a big fall if you slip. Keep your eye out for blue square markers as you continue the scramble to the summit as route finding is less obvious here than on Ha Ling.


After enjoying your summit views, continue travelling counterclockwise. As you wrap around the mountain you’ll end up at a scree slope which is especially fun with a bit of snow. Most find it much easier to run down the slope rather than bracing yourself taking it slow. Continue along the trail back to the T, where you’ll turn right to return to your vehicle.
Tent Ridge

Tent ridge was the least busy, most advanced, and my favourite of the three routes. It’s a 10km loop and includes an amazing horseshoe ridge walk with spectacular 360 degree vistas. It was also the most snow filled of the three, with potential avalanche risk depending on recent conditions. The trailhead is up Spray Lakes Rd, another 30km past Ha Ling. You’ll turn right at Rummel Pass Trail, following the sign for Mt. Shark. Keep right at the fork to stay on Mt. Shark Rd. A km after the fork you’ll see the parking lot on your right. If you reach a second fork you’ve gone too far.

The route starts through the trees and gives you some phenomenal views of the entire horseshoe before you make your way up on the left to travel clockwise. This article on 10 Adventures does a great job of describing the route for you and now that I’ve read it anything I say would just be plagiarism.


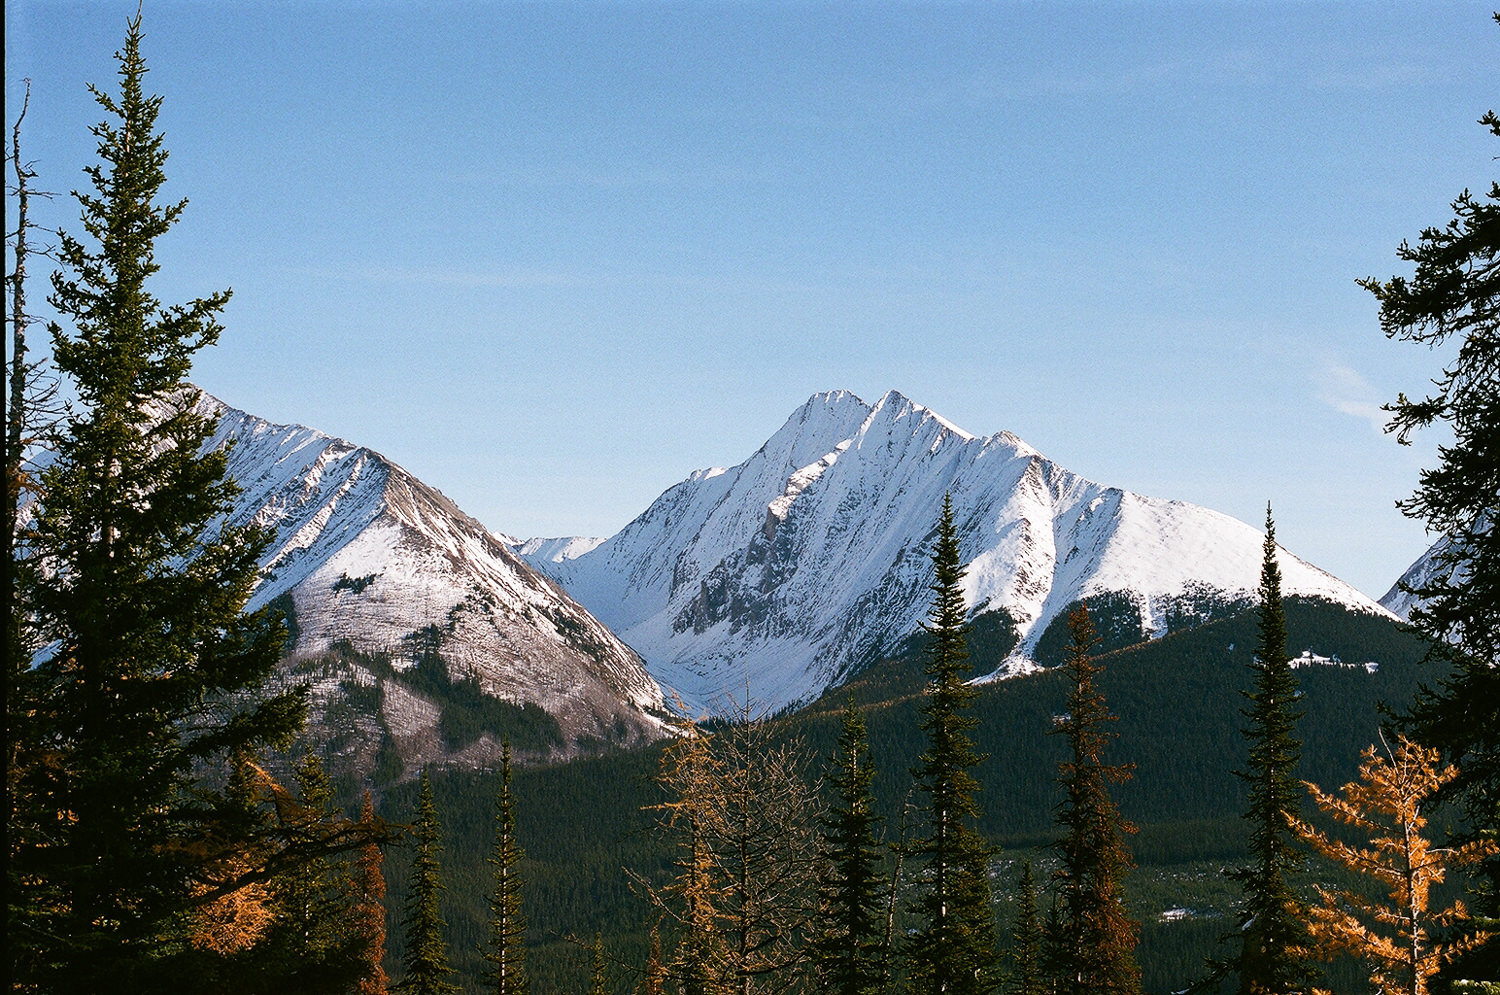
The treed approach was especially pretty in the autumn, with the larches in full show-off mode. The views only improve as you get onto the ridge and continue for the entire duration of the hike.


The weather station provides a nice spot to stop for lunch before continuing to the summit. The climb is tough in knee deep snow at times but you’re not here if you don’t enjoy a little type-2 fun. Be sure to keep your axes in hand while walking on the ridge, as a self arrest could be necessary if you happen to slip. If you don’t have to use these skills out of necessity, take the opportunity to practice on your way down off the horseshoe if you spot a place with plenty of snow and minimal risk.


If this hasn’t inspired you to get to the mountains as soon as possible I don’t know what will. Start planning your spring adventures and keep me posted on what you’ve got in mind! Do you have any additional shoulder season scrambles that I should explore? Leave a comment with your recommendations!
I took all of the images in this post on 35mm film. They were scanned after being developed and have not been further edited.
